Tape's Running Out: Your No-Nonsense Guide to Saving Family Videos Before They Disappear
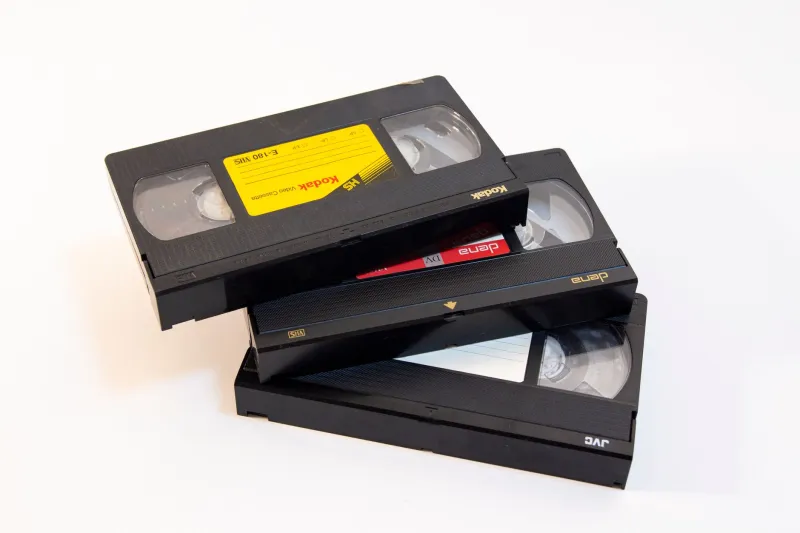
Somewhere in your parents' house — maybe the hall closet, maybe a plastic bin in the basement — there's a stack of VHS tapes. Birthdays. Christmases. A first soccer game from 1991. A family road trip that nobody remembers quite right until they watch the footage and suddenly remember everything.
Those tapes are dying. Not dramatically, not all at once, but slowly and silently. Magnetic tape degrades. Mold creeps in. Binder hydrolysis — a chemical breakdown sometimes called "sticky shed syndrome" — causes the magnetic coating to literally fall off the tape. Experts estimate that most consumer-grade VHS tapes have a functional lifespan of somewhere between 10 and 30 years under typical storage conditions. Do the math on a tape from 1988.
The good news? You still have time to act. The better news? You've got more options than you might think.
Why VHS Footage Is Different From Everything Else
Here's the thing that makes home VHS footage so uniquely precious: it wasn't made for an audience. Hollywood movies got DVD releases, Blu-rays, 4K restorations. Your cousin's wedding in 1994 got one copy, on one tape, sitting in one location. There's no backup. There's no studio archive. There's just that cassette.
That's what makes this different from any other kind of media preservation. We're not talking about recovering a film print — we're talking about the only existing record of moments that mattered to real families. When a tape goes, those moments go with it.
Know What You're Working With Before You Start
Before you dive into any conversion method, take stock of what you've got. Not all tapes are in the same condition, and that matters a lot for how you approach the process.
Pull out each tape and look for visible damage: white powder or fuzzy growth (mold), a musty or vinegary smell (chemical breakdown), warped or cracked shell, or tape that looks discolored or uneven when you hold it up to light. Tapes with active mold need to be handled carefully — don't play them through a VCR without cleaning the heads first, and ideally consult a professional service before attempting playback.
Tapes in decent shape can typically be played back with minimal issues, though you might see some picture noise or color bleeding on older recordings. That's normal. Don't panic.
The DIY Route: More Doable Than You Think
If you're comfortable with a little tech setup and you've got a working VCR, doing your own digitization is completely achievable. Here's the basic pathway:
What you need:
- A functioning VCR (check thrift stores, eBay, or Facebook Marketplace — they're still out there)
- A video capture device (the Elgato Video Capture and the Diamond VC500 are two popular, affordable options in the $60–$100 range)
- A laptop or desktop computer with enough storage space
- Free or low-cost software like OBS Studio or Handbrake for recording and compression
The process is essentially: connect the VCR to the capture card, connect the capture card to your computer, hit play on the VCR and record on your software simultaneously. You'll capture the footage in real time, which means a two-hour tape takes two hours to digitize. It's not fast, but it works.
The quality you'll get depends heavily on the condition of your VCR's heads. A clean, well-maintained machine makes a significant difference. If you're using an old VCR that's been sitting in storage, run a head-cleaning cassette through it a couple of times before you start.
Local Digitization Services: Worth the Money?
For families who don't want to mess with hardware, or who have a lot of tapes to convert, local and mail-in digitization services are a solid option. Chains like Walgreens and CVS have offered in-store digitization in the past, though availability varies by location — call ahead. Costco has periodically offered mail-in VHS conversion as well.
Dedicated services like Legacybox and iMemories operate nationally and accept VHS tapes by mail. Pricing typically runs between $10 and $25 per tape depending on the package, with bulk discounts available. You ship your tapes, they digitize them, and you get back either a USB drive, a DVD, or a cloud download link — sometimes all three.
The tradeoff with mail-in services is that you're trusting irreplaceable tapes to a shipping carrier and a company you've never met. Use a tracked, insured shipping method, photograph your tapes before sending them, and read reviews carefully. Most reputable services handle materials with care, but it's worth doing your homework.
For truly precious or damaged tapes, look into professional preservation labs. Organizations like the Bay Area Video Coalition (BAVC) in San Francisco or similar regional nonprofits specialize in archival-quality transfers and can often recover footage from tapes that a standard service would write off.
What to Expect From Degraded or Damaged Footage
Let's be honest: not every tape is going to come back looking pristine. Degraded footage might show dropouts (small flashes of white or black), color smearing, tracking lines, or audio dropout. In some cases, a significant portion of a tape might be unwatchable.
That doesn't mean you shouldn't try. Even partial recovery is better than total loss. And modern video restoration software — tools like DaVinci Resolve with noise reduction plugins, or specialized apps like VirtualDub — can clean up a surprising amount of damage in post-processing.
For severely deteriorated tapes, a technique called "baking" (placing tapes in a food dehydrator at low heat for several hours) can temporarily reverse sticky shed syndrome enough to allow one final playback. This is a last-resort measure that should only be attempted on tapes you've researched carefully — but it has saved footage that would otherwise have been lost entirely.
Once You've Got the Files: Don't Stop There
Digitizing your tapes is step one. Preserving those digital files is step two, and it's just as important.
Follow the 3-2-1 rule: keep three copies of your files, on two different types of storage media, with one copy stored off-site (or in the cloud). External hard drives fail. USBs get lost. Cloud storage gives you a redundant backup that survives house fires and floods.
Google Photos, Amazon Photos, and iCloud all offer options for storing large video libraries. For long-term archival storage, Backblaze B2 is a cost-effective cloud option that preservationists often recommend.
Label everything while the details are still fresh. Future generations will thank you for noting that the tape labeled "Summer 92" is actually footage from a family reunion in Lake Tahoe, not the beach vacation everyone misremembers.
The Clock Is Real
We're not trying to scare you — but we're not going to sugarcoat it either. Every year you wait is a year closer to the point where some of those tapes may no longer be playable. The window is open right now. It won't be open forever.
Grab those tapes out of the closet this weekend. Check their condition. Make a plan. Whether you go DIY with a capture card or ship a box of cassettes off to a digitization service, the important thing is that you start.
Those moments are worth saving. That's the whole reason we're here.